A Built in Happy Hour
There’s always something to build!
Normally, it’s me texting Papa throughout the day with idea after idea of DIY projects and home renovation ideas. With most messages going ignored. However! On this particular day I was pleasantly surprised to receive a text with an idea from Papa that I absolutely loved.
A built in bar.
Let’s be honest, I haven’t seen an in person happy hour in almost a year due to COVID. Every drink I’ve had has been made at Casa de Mookie. I’m not complaining, but we’ve used quite a bit of shelf space storing all of our ‘grown folk juice’. This new space would give us a fancy way to store all of our goodies.
Once we agreed on what we wanted, Papa sat down, drew out his plans, took the measurements and headed to home depot for the first of MANY trips lol
Our original inspiration came from The Creativity Exchange’s DIY built-in bar plan. We made some adjustments to their plans by widening the shelf space and adding a wine cooler in the middle of the two bottom cabinets. We chose a dual zone wine cooler from Home Depot. Once the cooler came in, Papa went to work!!


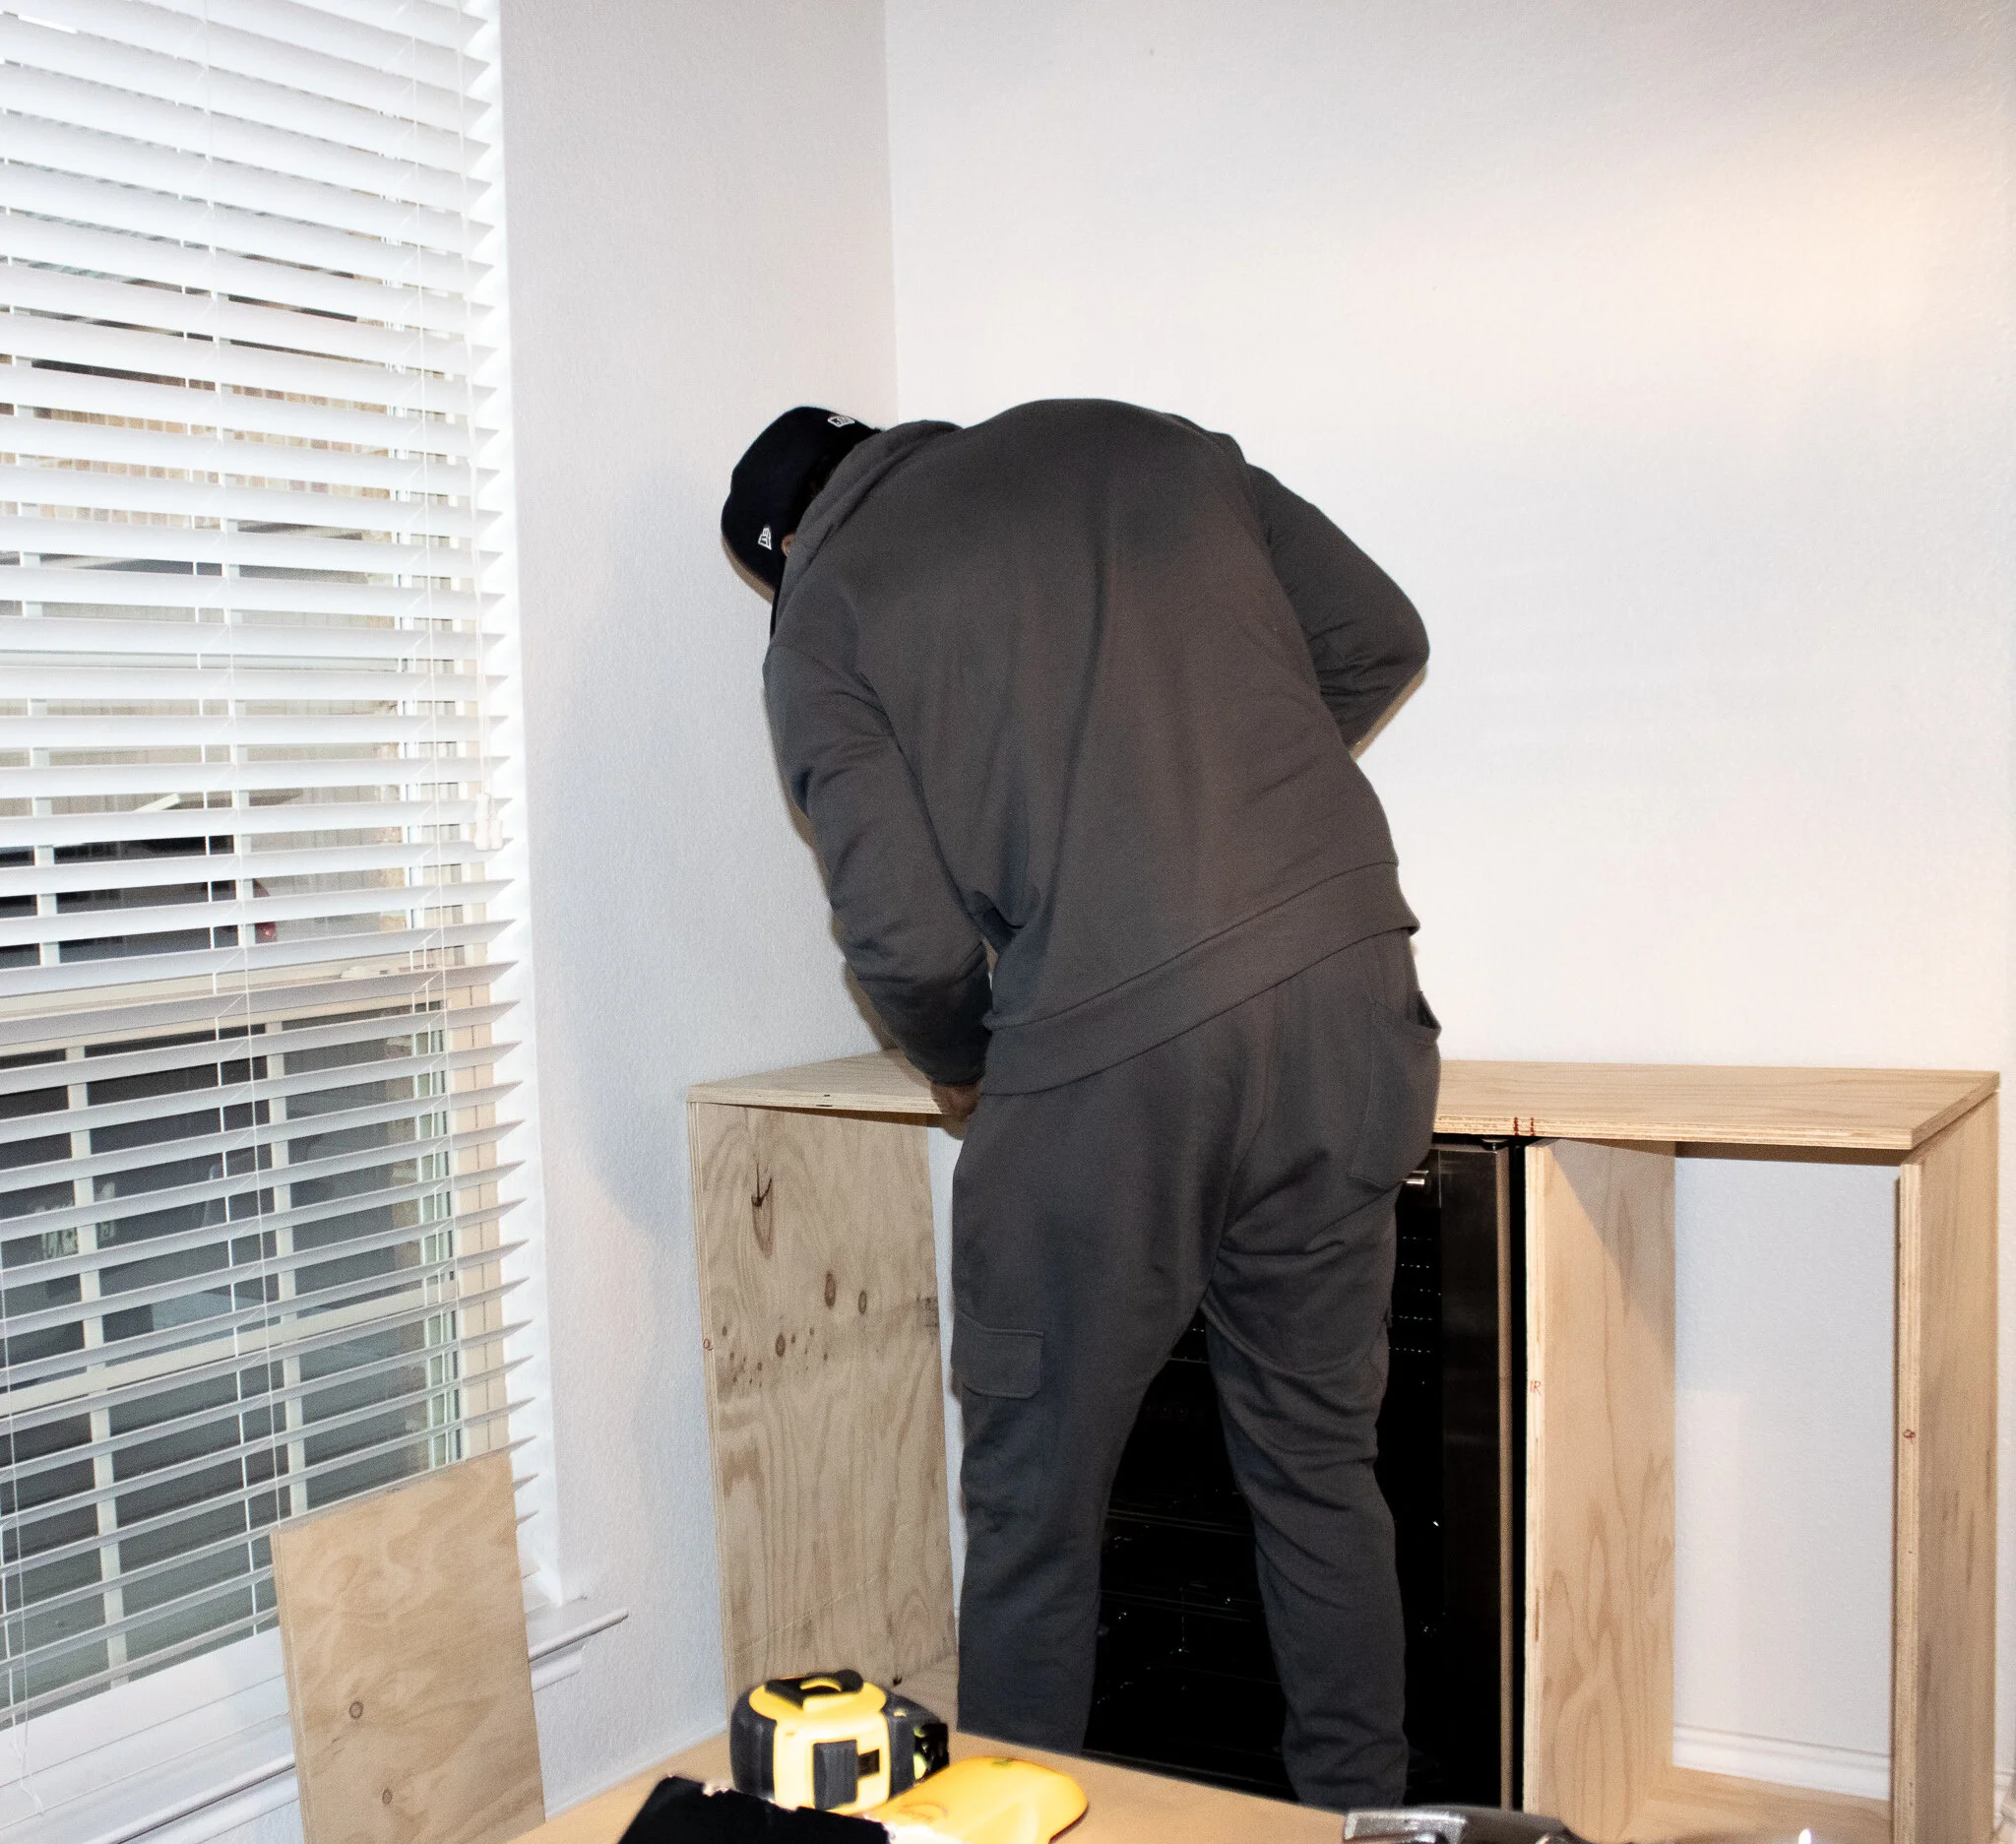
When measuring for shelf space we made sure to include space for taller bottles and decanters. We planned to move all of our glassware to this space. So we adjusted each shelf based on what it would be used for.

Once the cabinets were sanded, we painted the unit with an oil based paint.

We used ‘Morning dove’ - an oil based paint from Home depot.
We ordered a mirror from a local vendor, Oak Cliff Mirror & Glass Co. The mirror was anchored to the wall behind the shelf, using glue and brackets.
Installing the mirror and the shelf was something I could not assist with!! Thankfully, my brother in-law doesn’t live too far away!

Due to the crown molding, we did not go all the way to the ceiling. We kept a 4 inch gap from the top of the cabinet to the ceiling.

Once everything was secured to the wall, we caulked all the gaps and nail holes and did some touch up painting.

Next up was the tile!
To keep this project in budget, we decided to install 4 large pieces of marble style tile. After the tile was installed we did a few more touch ups with caulk and paint.


now it’s time to add the grown folk juice and decorate!!

We added all of our glassware to the shelves along with our adult beverages. Loaded up the wine cooler, filled the cabinets with all the necessary bar essentials and enjoyed a nice cocktail at our built in bar!


